 Skip to content


How-to sew a yo-yo (or Suffolk Puff if you're British!)
Yo-yos (also called Suffolk puffs) are one of those simple, satisfying hand-sewing techniques that turn scraps into instant texture.
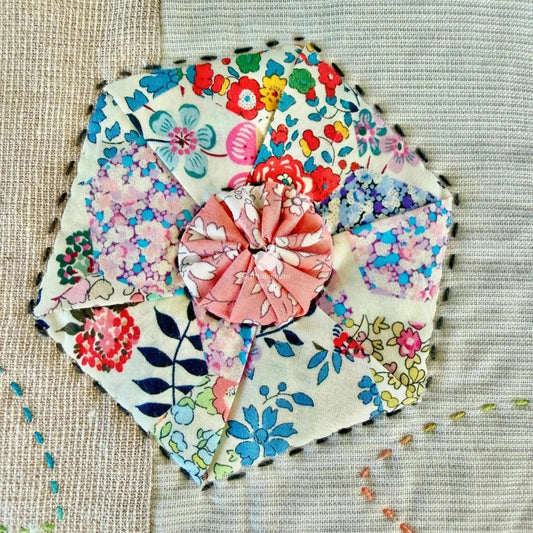
Add them to patchwork, quilts, cushions, ornaments, garlands, bags, or go all in and make a full yo-yo coverlet.
In this tutorial I will show you two ways to make a yo-yo:
- Hand sewn with a simple circle template
- Using a Clover yo-yo maker
And if you want a handy keep-forever version, you can grab my free printable yo-yo templates plus this tutorial delivered to your inbox, enter your details into the form in this blog post.
What you will need
Yo-yo's are super fun and fast to sew. They can be used to decorate patchwork or used by themselves to make a coverlet. I have used them in several patterns.
You will need:
- Fabric (scraps are perfect)
- Needle (a milliner needle size 10 or 11 is a great choice)
- Thread (50wt works well, or anything you like for hand sewing)
- Scissors
- Fabric marker or pencil
- A circle template (cardboard, template plastic, or the free printable templates),
- OR a Clover yo-yo maker
- Pins (optional)
TIP: If you are making very small yo-yos, a finer thread and slightly shorter stitches can help the gathers sit neatly.
Choosing a Yo-Yo Size (Quick Guide)
A yo-yo finishes smaller than your starting circle because the edge is folded over and gathers into the centre. As a rough guide, the finished yo-yo is often around half the diameter of the circle you start with (it varies depending on seam allowance, fabric thickness, and how tightly you gather).
If you are unsure, sew one test yo-yo first, then adjust your circle size until you love the finished size.
Sewing a yo-yo from a cardboard template
METHOD 1: HAND SEWN YO-YO (Cardboard template method)
Step 1: Trace and cut
- Trace your circle on the wrong side of your fabric.
- Cut out the circle neatly.
Step 2: Thread your needle
- Thread your needle and leave a 2 to 3 inch tail.
- You do not need a knot at the start.
Step 3: Fold and stitch
- Hold the circle wrong side up.
- Fold the edge to the wrong side about 1/4 inch (6 mm).
- Using a simple running stitch, sew small, even stitches all the way around the circle. Leave a 3-4" tail at the end.
- Try to keep the folded edge consistent as you go.
Step 4: Gather
- Once you have stitched the full circle, gently pull the thread to gather the fabric into a puff.
- Pull slowly and evenly so the gathers distribute nicely.
Step 5: Set the centre opening
- You can pull the centre hole fully closed, or leave it slightly open depending on the look you want.
- A small opening can look very sweet for decorative yo-yos.
Step 6: Secure
- Use the working thread and the starting tail to tie off firmly.
- Take a few small stitches near through the gathered centre to the back to lock it in place, then knot off again on the back.
Optional: If you want a flatter yo-yo, you can lightly finger press the outer edge once it is gathered.
WATCH a video on this method. LINK


METHOD 2: CLOVER YO-YO MAKER
A Clover yo-yo maker makes the folding consistent and fast, which is especially handy if you are making lots of yo-yos.
Step 1: Cut your fabric circle
Cut a fabric circle to the size required by your yo-yo maker (follow the instructions that come with your tool).
Step 2: Position the fabric
Open the yo-yo maker and centre the fabric circle over one side.
Step 3: Close the tool
Close the yo-yo maker so the fabric is held in place.
Step 4: Stitch around
Thread your needle and stitch around using a running stitch, following the guide holes or grooves. Keep your stitches fairly even.
Step 5: Remove and gather
Open the tool and remove the yo-yo. Pull the thread to gather.
Step 6: Secure
Knot off firmly and take a few small locking stitches near the centre so it stays gathered long-term.
If you want to see me use a Clover yo-yo maker, I also have a quick demo video, LINK.

HOW TO ATTACH A YO-YO TO A PROJECT
- Pin (or lightly glue baste) the yo-yo in position.
- Slip stitch around the outer edge to attach it.
Extra stability tips (especially for pillows, quilts or items that will be washed often):
- Add a small decorative stitch in the centre of the yo-yo to anchor it (a tiny cross stitch works well).
- Add a few tiny stitches between the folds near the centre so the yo-yo cannot flip up over time.
TROUBLESHOOTING
My thread snapped when I pulled the yo-yo threads to close the circle
Try a stronger thread, pull more slowly, or take slightly larger stitches. Close, shorter stitches can sometimes cause extra friction when gathering.
My gathers look lumpy or uneven
This is usually stitch length inconsistency. Aim for even stitch length and a consistent folded seam allowance as you sew. If you use a small running stitch you will get a very gathered yo-yo. I aim for 1/4" length stitches.
The centre hole will not close nicely
Make sure you are stitching right along the folded edge consistently, and that your running stitches go all the way around with consistently spaced stitches.
My yo-yo will not sit flat
Try a slightly smaller seam allowance, smaller stitches, and add a few centre anchor stitches when you attach it.
My seam allowance is peeking out
Increase your fold slightly, or use a fabric that presses and behaves well (some linens and thicker fabrics can need a slightly deeper fold).
PATTERNS THAT USE YO-YOS (FREE AND PAID)
If you want to use your new yo-yo skills straight away, here are some Craftapalooza patterns and projects that include yo-yos.
FREE
Tea for Me Block
PAID PATTERNS (PDF)
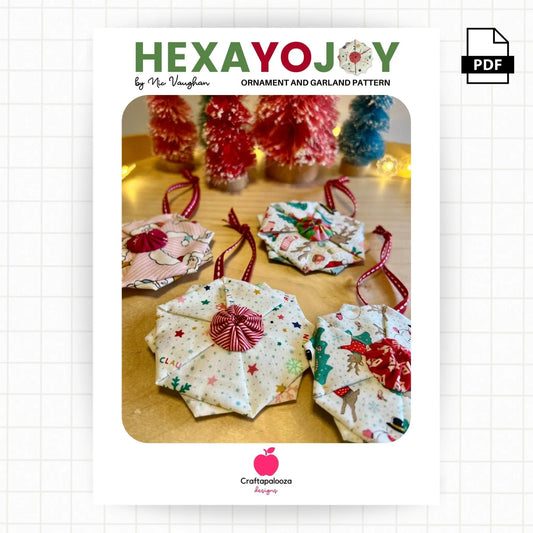
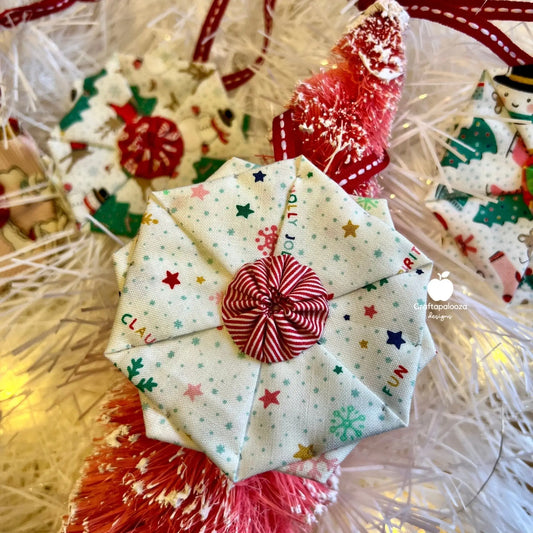
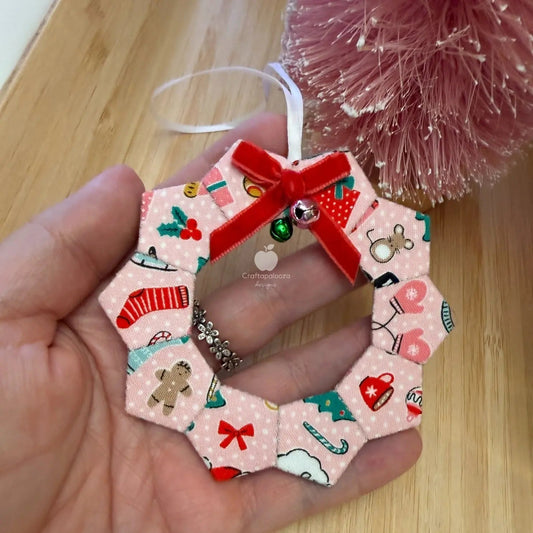
HexaYoJoy Ornament and Garland
Blossie Basket PDF Pattern (includes optional technique choices, including optional yo-yos)
If you make yo-yos using this tutorial, I would love to see them. Tag me on Instagram @craftapalooza so I can cheer you on.
And if you want my free printable yo-yo templates (multiple sizes) sent to your inbox together with a handy pdf of this blog post enter your details below:
FAQ
What is a Suffolk puff?
Suffolk puff is another name for a yo-yo. It is a gathered fabric circle that forms a small rosette shape.
How do I know what size yo-yo to cut?
A finished yo-yo is smaller than the starting circle because the edge gathers into the centre. As a rough guide, the finished size is often around half the starting circle diameter, but it varies. Make one test yo-yo first.
Should I close the centre hole completely?
Either is fine. A fully closed centre looks neat and tidy. A slightly open centre can look decorative, especially on quilts and ornaments.
What stitch do I use to make a yo-yo?
A simple running stitch is perfect.
What is the best thread for yo-yos?
A strong general purpose thread works well. If your thread snaps while gathering, switch to a stronger thread or pull more slowly. I use Wonderfil Decobob 80wt.
How do I attach yo-yos so they do not flop around?
Slip stitch around the edge, then add a couple of small anchor stitches near the centre folds, plus a small centre stitch to lock it down.
Can I wash items with yo-yos?
Yes. For washable items like cushions, add anchor stitches in the folds so the yo-yo stays secure through use and washing.
Are Clover yo-yo makers worth it?
If you want speed and consistent folds, yes. If you only need a few yo-yos, the template method is simple and flexible.


Read more...
-
Organising and managing scrap quilts by a scrap lovin' patchworker!
If you love making scrap quilts with a “million” fabrics, you’ll know the challenge of organising the entire process. Over the years I’ve tried man...
-
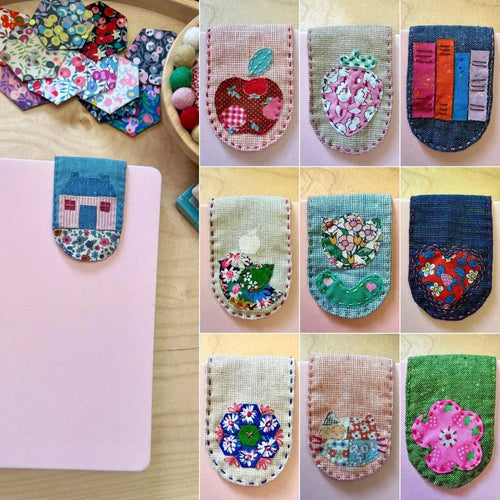
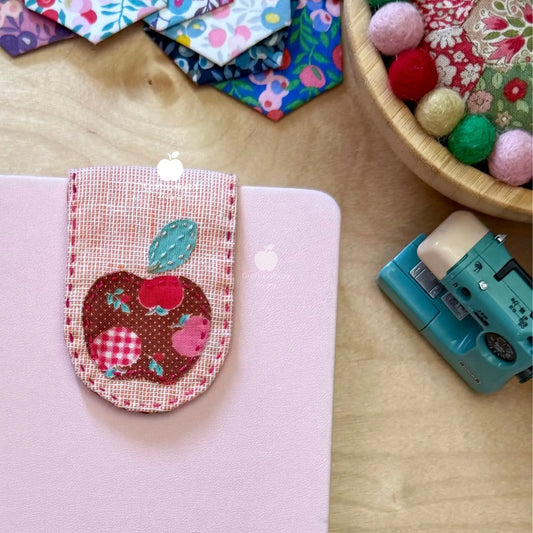
Introducing the Page Pal Bookmark: A Scrap-Friendly Magnetic Bookmark Pattern for Book Lovers
Calling all bookworms and makers! If you’re looking for a small but mighty sewing project, the Page Pal Magnetic Bookmark Pattern is perfect for yo...














3 comments
Thank you, now I have more ideas on how to incorporate yo-yos in some of my projects!
Thank you so much for you blog it has helped me no end. I had brought myself a yo yo maker but the I just couldn’t get to grip with it, now I understand. Thank you.
——-
Craftapalooza Designs replied:
Thank you! I’m so glad that helped. Nic
Many many thanks for the free template very much appriciated
———
Craftapalooza Designs replied:
You’re welcome! Happy sewing.