Skip to content


Three Practical Additions for Your Blossie Basket
A quick thank you
Thank you for all the Blossie Basket love! It’s one of those projects that brings joy to everyone who makes one, or two, or more. She’s a lovely gateway into hand sewing, and you end up with something useful at the end. What more could you ask for? 😉
Having made many, many Blossies myself, I’ve come up with a few extra finishes and practical additions you might like to try.
Sewing a firmer, less floppy Blossie
If you’ve made a Blossie using the fusible batting specified in the pattern, you’ll know the finished basket is soft and flexible. This isn’t an error. The original Blossie was designed to be a soft fabric basket.
But if you’d prefer a firmer Blossie that holds her shape when empty, there are several alternatives you can try. I surveyed Blossie makers about the products they’ve used and tested a few options myself.
You can read all about the results in my Blossie Basket Stabiliser Guide.
For a soft finish, I prefer a single-sided fusible batting. For a much firmer Blossie, I use Pellon Peltex 71F, which is also sold as Legacy L-71F Fuse-N-Shape.
Three Blossie additions to try
Here are three fun and practical additions you can make to your Blossie Basket:
- Add a magnet inside the lid as a needle keeper
- Add two buttons to the felt needle keeper to hold a threaded needle
- Add a magnetic lid closure
You can add one, two or all three. It’s entirely up to you!
You’ll find the supply lists and step-by-step instructions in the complimentary downloadable PDF. You will need the pattern to make your Blossie Basket.
Click to enter your details and receive the complimentary additions PDF
Important magnet safety
Neodymium magnets are dangerous if swallowed and are not safe for children.
Do not add these magnets to a Blossie Basket intended for a child. Always keep loose magnets safely away from children and pets.
Adding a magnet inside the lid
Yes, there is already felt underneath the lid for your needles and pins. But adding a magnet inside the lid gives you another handy spot to quickly pop your needle when you pause your stitching.
The magnet is hidden inside the lid and is strong enough to hold a needle placed on either the top or underside. It’s a simple addition to make while you’re constructing the lid and doesn’t change the finished look of your Blossie.

The downloadable PDF explains which size magnet to use, where to position it and when to add it during construction.
Click to enter your details and receive the complimentary additions PDF
Adding buttons for a threaded needle
Two small buttons added to the felt needle keeper give you a neat little place to store a threaded needle.
Wind the thread around the buttons and your needle stays tidy, secure and ready for your next bit of stitching. No tangled thread floating around inside your Blossie!

I’ve used a small Blossie in the photos. If you’re making the standard-sized Blossie, your buttons can be positioned further apart.
The downloadable PDF shows you how and where to attach the buttons to the felt needle keeper.
Adding a magnetic lid closure
If you’d like your Blossie lid to stay neatly closed, you can add a magnetic closure using two small neodymium magnets and fabric-covered ½″ hexagons.
One magnetic hexagon is attached discreetly inside the basket. The other becomes a double-sided tab attached to the lid. When the lid is closed, the magnets meet and hold it in place.

The finished closure is practical, secure and very Blossie. The little fabric-covered hexagon tab looks like it was always meant to be there!
The downloadable PDF includes the complete supply list and step-by-step instructions for preparing the hexagons, enclosing the magnets and attaching the closure.
Click to enter your details and receive the complimentary additions PDF
Check the magnet polarity
There is one particularly important thing to remember when making the magnetic closure: check the polarity before sewing the tab to the lid.
You want those magnets to attract, not repel. Trust me, this is worth checking before you stitch everything permanently in place!
The PDF walks you through how to check the orientation and make sure the closure faces the right way.
Ready to try them?
There you have it: three fun and practical additions for your Blossie Basket.
Click the link below, enter your details in the form and I’ll send the complimentary PDF with the complete supply lists and step-by-step instructions straight to your inbox for all of the additions!
Read more...
-
My picks from the Making Zen Online Retreat 2026
If you love hand sewing, patchwork, playing with fabric scraps and discovering slightly unexpected textile techniques, you might want to pop the Ma...
-
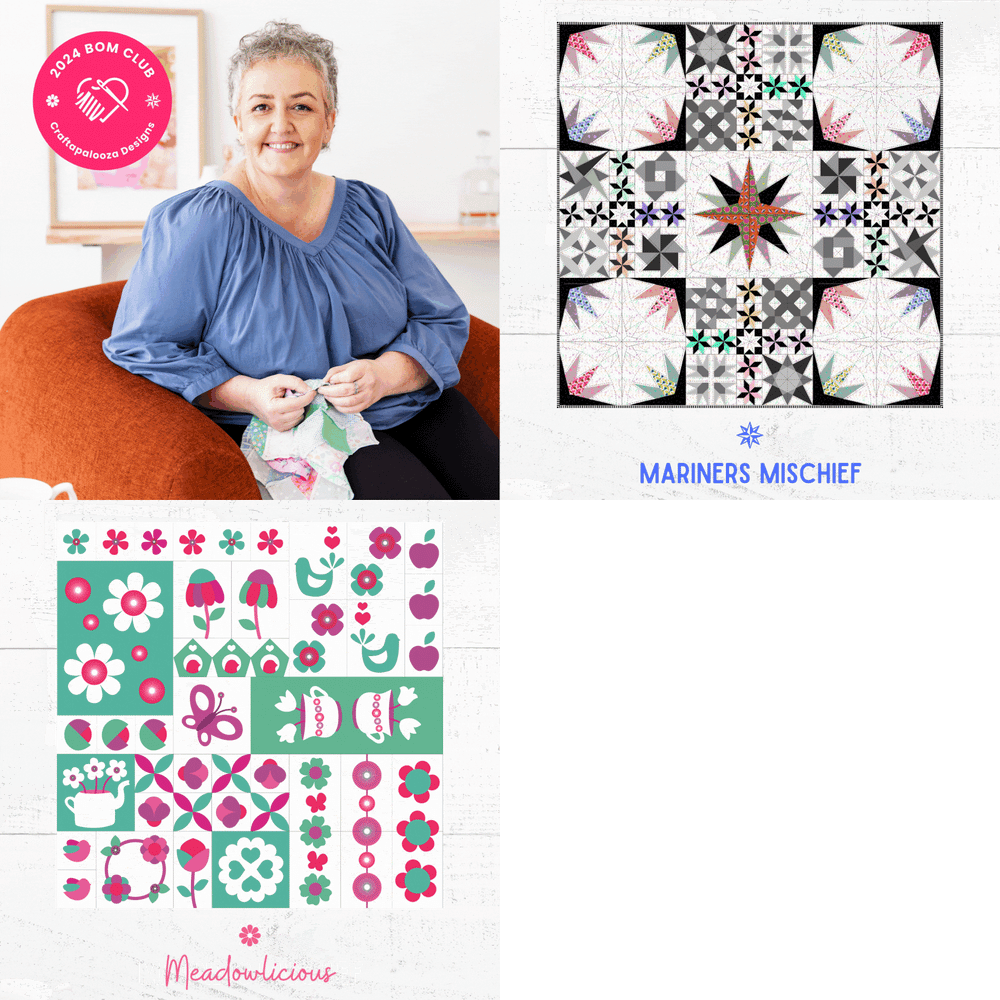
Unveiling the 2024 Block of the Month Club: A Quilter's Paradise
Unlock Your Creativity Mariners Mischief and Meadowlicious Await in 2024 Introduction Welcome to a year of quilting delights with the 2024 Block of...
-
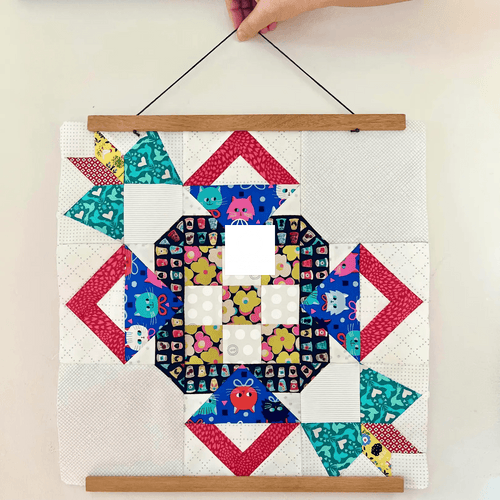
Kitty Basket Meow quilt block
Kitty Basket Meow (KBM) is a quilt block that comes with full piecing instructions and four layout options. KBM is a big gal finishing at 18", so ...