Craftapalooza Designs

My needle turn applique tips
Needle turn applique, practice makes improvement First up, practice, practice and practice. Practice makes improvement, start with a smaller project, like a cushion. Do some test projects. Want to see...
My needle turn applique tips
Needle turn applique, practice makes improvement First up, practice, practice and practice. Practice makes improvement, start with a smaller project, like a cushion. Do some test projects. Want to see...
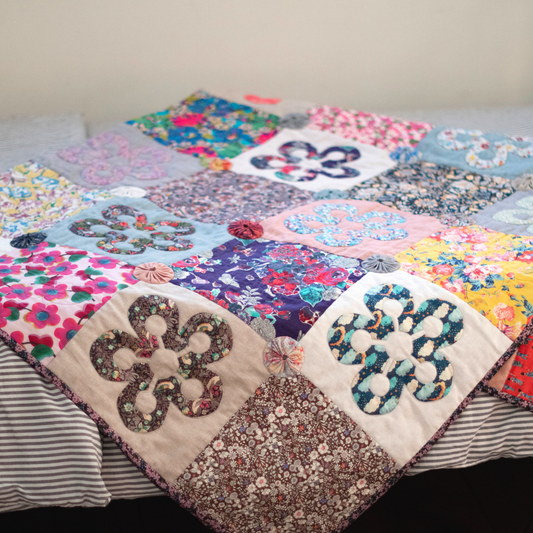
Bloomin' Quilt Series
The bloomin' quilt series is here! Two different designs and lots of yummy applique and stash busting. Well, one design has less applique and lots of stash busting possibilities and the other...
Bloomin' Quilt Series
The bloomin' quilt series is here! Two different designs and lots of yummy applique and stash busting. Well, one design has less applique and lots of stash busting possibilities and the other...