Templates for patchwork, so many options!
Share
Have you ever purchased a quilt pattern and then realised that you’ll need to make templates from the provided pattern as the block pieces are not all straight forward for rotary cutting?
There are lots of template options when it comes to these type of quilts and personally they’re my favourite kind of quilt. I love tracing templates and prepping my blocks ready to handpiece. Usually working in chunks, cutting 5-10 blocks at a time and then piecing. I also like to sew a test block before cutting out allll of the fabric, particularly if it's a block that could be a little tricky. Also to see if I'm happy with the fabric choices I've made and I have contrast where I want to see it and that the scale of the prints I've chosen are working well with each other.
Fabric Marking
When tracing templates, you want to use a marking pen/pencil that makes the 'work' easier! I love to use a mechanical pencil with a 0.7mm 2B lead. This lead is nice and soft and marks fabric easily. For dark fabrics a silver metallic GEL pen works a treat (this pen is also good for tracing shapes for appliqueing). Make sure the pen is a GEL pen.
Paper and Cardboard
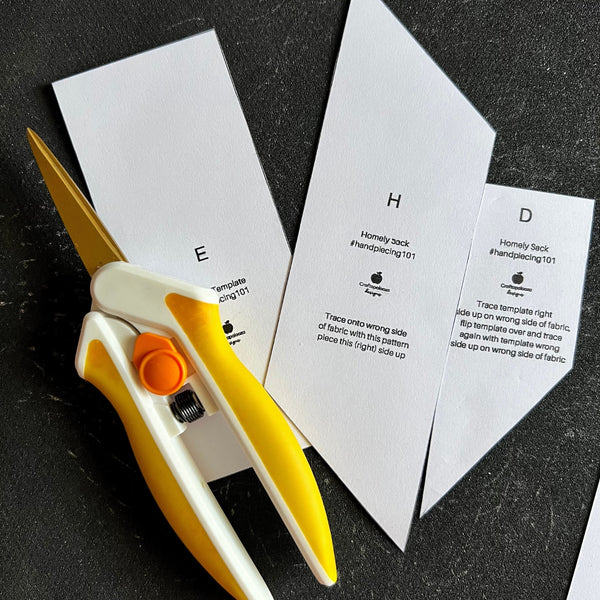
Self Lamination: One option is to print the provided templates out (and checking that the 1" guide on the template has printed accurately and measures 1" so you have the templates printed at the correct size) and then using self adhesive laminating sheets apply to the sheets and then cut out your template shapes, the laminate will help reinforce the edges.
Paper/Cardboard: Plain paper templates are ok for single or minimal use but if you’re using a template over and over it’s likely to distort with repeated use if it’s plain paper cardboard. However, you’ll want to consider printing the templates out on heavier paper, if you’re able, to give them a little bit of bulk.
Heavy board: I pieced a quilt with 16 different blocks from cardboard templates. I sent the pdf of the templates to a print shop. They were printed on 300gsm board. Then when I got the sheets back I cut out my templates. They were nice and rigid held up with repeated use.

Template Plastic
You can purchase template plastic to trace your templates on to and cut out. You can also reuse any flat plastic from food packaging for this purpose. I haven’t tried this Creative Grids template plastic but I like that it’s textured on the back!
A note on tracing templates from print outs: rather than putting the print out on a flat surface and then the template plastic on top and tracing (using a ruler for straight lines) I use a glue stick and glue the printed sheet to the top of the template plastic and then cut out the template on the seam line, I then peel off the paper. TIP: Mark each template with the correct letter or number from the pattern and the correct side if that's something that needs to be noted. There's nothing worse than coming back to a project and not remembering which piece is for what block!
Acrylic
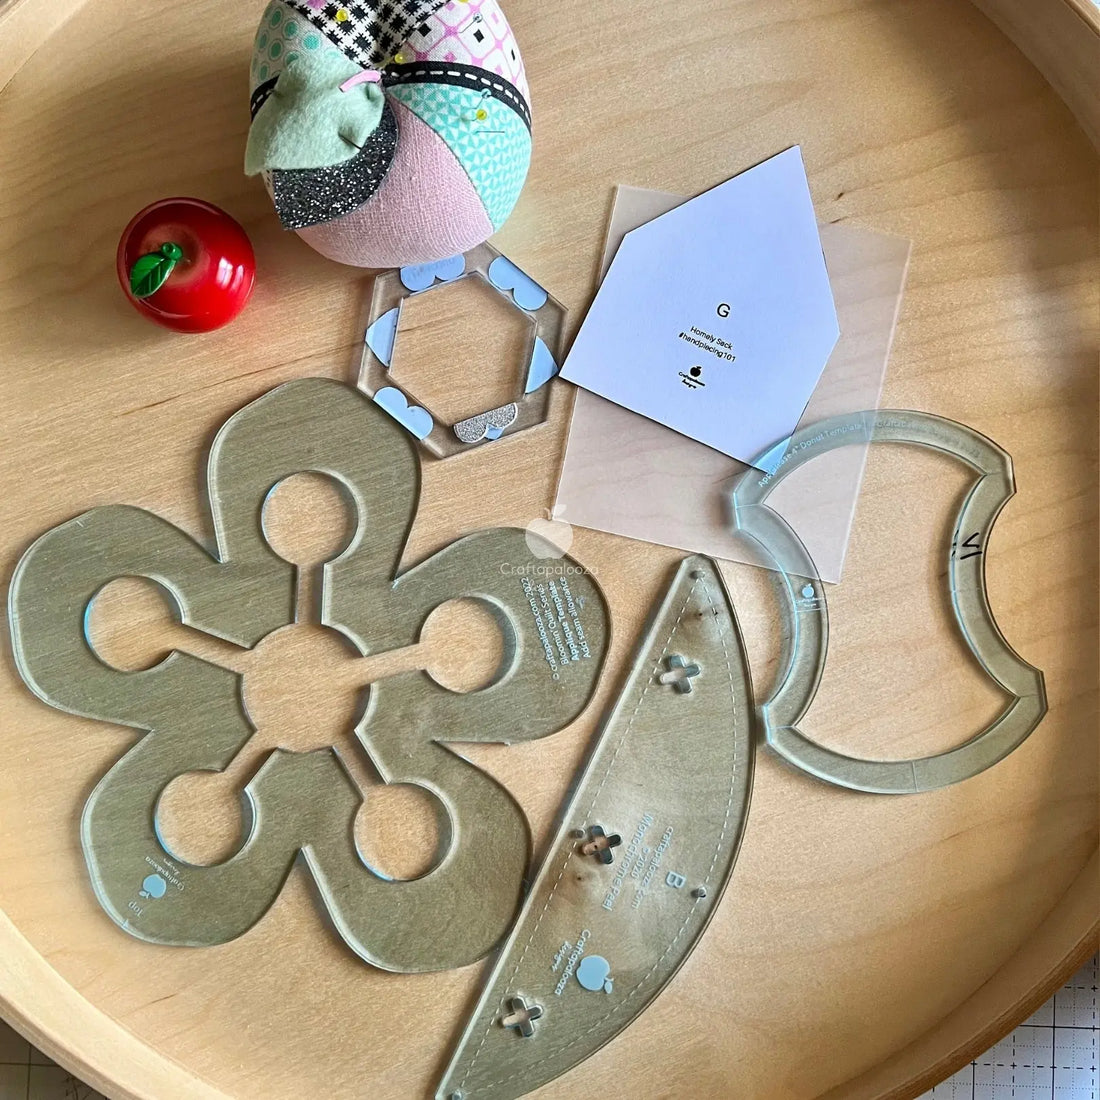
Acrylic templates are thicker plastic often with seam allowances included and drilled holes or as 'donuts' with the centre cut out. These are a great option and a commonly available used material for patchwork templates. My block of the months often use acrylic templates. Where I can I'll have quilting marks cut out of these templates as well to assist with marking the quilt for hand quilting.
Slippery templates
You’ll find sometimes that templates can be slippery and hard to ‘anchor’ down whilst you’re tracing. There are a few options you have to manage this and I have even used textured glitter stickers from a stationery shop (you can see these on the hexagon in the photo above, just under the apple pincushion).
- Textured medical tape
- Template dots
- Glitter washi tape

1 comment
I have found that tracing your templates on sandpaper and then gluing it on cardboard also works well
———
Craftapalooza Designs replied:
That is fabulous! Thanks Mary.