 Skip to content
My needle turn applique tips
Share
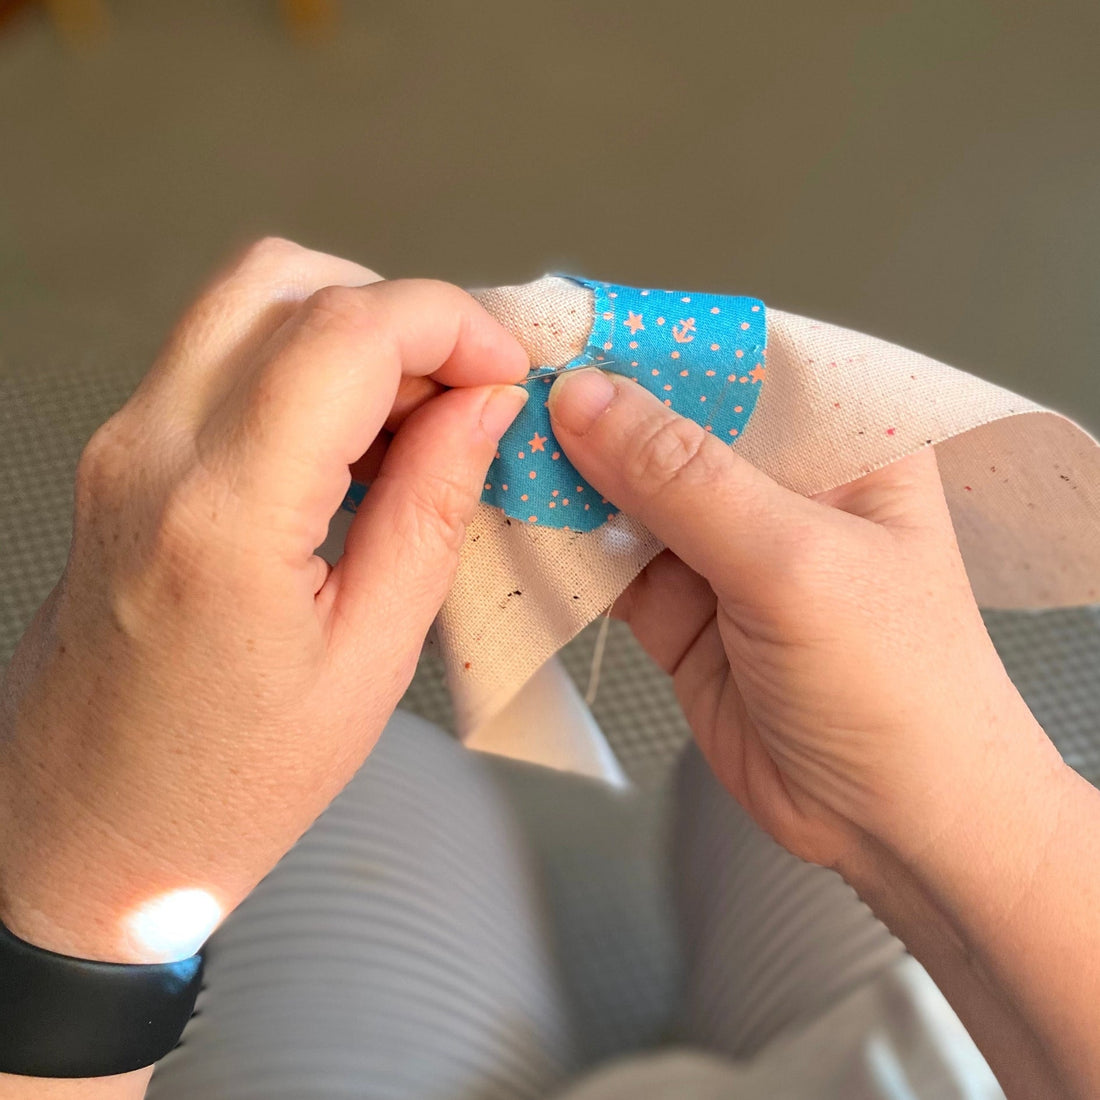
Needle turn applique, practice makes improvement
Start with practice, then practice some more. The more you stitch, the smoother needle-turn appliqué feels in your hands. Try a small piece first, maybe a cushion, then run a few test blocks until you find your rhythm.
Curious how far practice can take you? Feel free to peek at my early attempts; I used to pin every curve into place, but now the needle does the work. I fell in love with that appliqué look and kept going until everything felt natural.
Scroll to the bottom of this post for tutorial videos from my Bloom pattern series. Even if you are working on another project, the techniques and tips will help you improve needle-turn appliqué.
We're all beginners at some point and taking the time to learn and improve is so satisfying when you start to see improved results. I could do a 5 minute talk and point out all of the 'issues' with my needle turn on my applique, but what would be the point?
With pieces of applique that have legs or finer details, when you're initially cutting out the piece, don't cut into these details, leave more fabric around them to 'protect' the edges and only snip around them closer once you're about to stitch. This will help prevent fraying and distortion of these pieces and also minimise frustration.
Oh, and it might be obvious but it's called needle turn applique for a reason. Use the TIP and end/edge of the needle to help turn under the seam allowance to stitch down, see more here. You'll notice the difference once you do that. Another beginners tip is to finger press the seam so you have a 'pre crease' of sorts to assist with turning under the seam allowance.
The 'right' tools do make a difference
When I say 'right' I mean right for you! Try out different needles and thread. Needles and thread do make a HUGE difference when it comes to needle turn applique. My personal favourite needles for needle turn are Bohin Long Applique Needles and these days I also use a needle threader. The eye on applique needles is super small and 80wt thread is also very fine. My 50+ year old eyes need some assistance! I use Wonderfil Decobob 80wt. It's fabulous and fine and just melts into your sewing. Try it out!
The rule of thumb is to match the thread colour to the applique fabric, not the background, however, I often will use a light silver thread for most of my applique, there are some instances where I will colour match if there's too much contrast and I can see stitches, but 90% off the time this works for me.
These Karen Kay Buckley 4" small perfect applique scissors are just that, perfect for snipping seams and getting into finer details. These scissors have a micro serrated blade that keeps fabric from slipping so cutting is more accurate and helps to prevent frayed edges.
I use Roxanne Applique Glue and this particular bottle as the tip is fabulous and prevents you from using a lot of glue. You really only need very small amounts of glue. We're not gluing down the piece that needs appliquing we're just lightly attaching it. Keep glue away from the edges and seam allowances so it doesn't interfere with your stitching. Roxanne's is very strong, so if you use too much and then want to reposition a piece once it's dry it might be a struggle to separate the fabrics. AND I also use and love these Taylor Seville Extra Fine Applique Magic Pins.
That's pretty much all you'll need. Thread, needle, pins and glue. I really hope you try needle turn applique, it's a wonderful and mindful and creative technique.
A note about links
Please note: This post may contain affiliate links, meaning I earn a small commission if you make a purchase - at no extra cost to you!


